How should symbols be described?
🔣 Symbol readback
Symbol panel card
Capture stage, symbol order, and position while the current symbol rule is checked.
The four-symbol wheel is a practice visual; identify the sounding symbol first, then check the live stage rule before pressing.
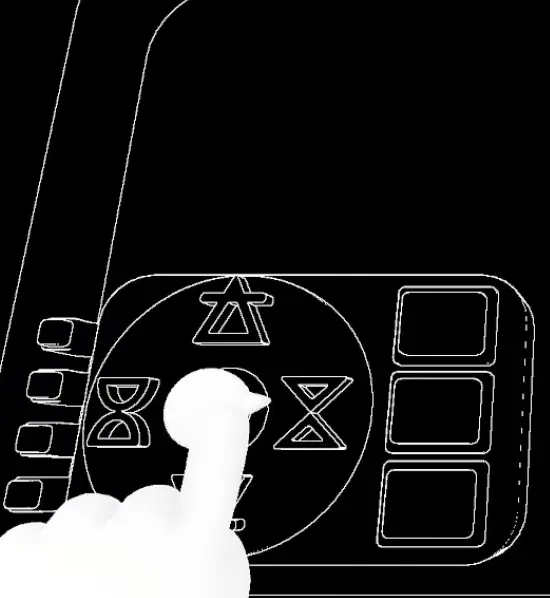
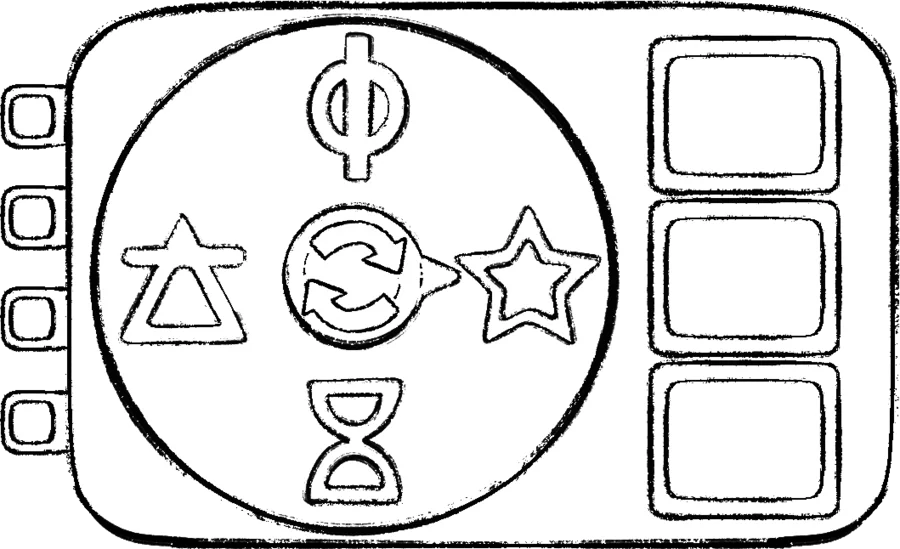
Use shape plus position, then add the sound or stage indicator. Keep a separate line for each stage so a repeated symbol does not overwrite an earlier note.
Symbol module facts
| Field | Reference answer |
|---|---|
| Difficulty | Medium |
| Module type | Defusal |
| Panel footprint | Symbol wheel plus answer buttons; check the current panel |
| First fixed campaign appearance | Level 8 |
| Fixed campaign appearances | Levels 8, 10, and 11 |
The module is solved in stages. Rotate the pointer until the symbol that produces a sound is identified, then use the current stage and that symbol to select the correct coloured button. The same shape can return later, so the stage must travel with every callout.
Symbol callout card
| Emoji | Callout field | What to confirm |
|---|---|---|
| 🔊 | Sounding symbol | Rotate until one symbol is actually producing the sound. |
| 🔢 | Current stage | Treat the stage as a fresh lookup after every accepted input. |
| 🎨 | Button colour | The manual result is a colour button, not the symbol itself. |
| ✅ | Accepted | Confirm that the panel advanced before starting the next stage. |
| 🛑 | Reset | If the sound, symbol, or stage is disputed, stop and reread. |
Two independent module indexes describe the same core loop: find the sounding symbol, combine it with the current stage, then press the matching colour. The emoji above is a team shorthand for that shared procedure, not a replacement for the live manual.
Shared symbol dictionary 🧩
Use one short name for each shape before the timer starts. Two independent player guides recommend the same naming discipline: name the visible form consistently, add position when two shapes are similar, and never rename a shape halfway through a run.
| Emoji cue | Suggested callout | Add when it is ambiguous |
|---|---|---|
| ⭐ | Star / asterisk | Filled or outline |
| ⚡ | Lightning / zigzag | Top, middle, or bottom position |
| 🎯 | Circle-with-dot / target | Outer shape first, inner mark second |
| 🍴 | Trident / fork | Number of prongs or pointer position |
| ◇ | Diamond / rhombus | Tilted square versus open diamond |
| ♾️ | Loop-cross / ankh | Outer loop and inner cross direction |
These names identify what the team is looking at; they do not replace the stage lookup. If the same shape appears again, keep the same name and attach the new stage number.
Step-by-step solving order
- Confirm the panel is Symbol and record the current stage.
- Number the visible answer buttons in a fixed reading order.
- Rotate the pointer or selector until the sound-producing symbol is found.
- Report the symbol shape, button position, current stage, and any light or sound change.
- Check the active Symbol reference table for the correct coloured button.
- Press once, record the result, and only then begin the next stage.
The Module Solver stores the stage, symbol order, positions, and action status so repeated shapes stay separate. It is a record-and-check aid; the current reference table remains the authority for the final button colour.
How do I recover from confusion?
Pause, identify the current stage, and ask the observer to describe the full panel again. Use the roles guide to restore a single caller.
What is the safest symbol callout?
Use three fields in one sentence: symbol shape, position, and stage or sound indicator. Keep repeated symbols on separate numbered lines. The operator should not act on a shape alone, because the team needs the stage and the associated input order to distinguish repeated symbols.
What should be recorded for every symbol?
Record the symbol’s shape, its position on the panel, the current stage, and any sound or light that changes with it. A compact note can use one line per stage:
| Stage | Shape and position | Sound / indicator | Action status |
|---|---|---|---|
| 1 | Triangle, left button | Current light | Waiting for rule |
| 2 | Same shape, lower button | Changed sound | Confirmed / pending |
The table prevents a repeated shape from overwriting the earlier stage. Clear an action only after the operator reports that the panel accepted it.
Where does Symbol appear?
The reference lists Symbol as a Medium defusal panel, first fixed at Level 8, with fixed appearances at Levels 8, 10, and 11. Use Level Lookup to check the current campaign context and Puzzle Index to compare its stage workflow with Piano and Soundboard.
How should repeated symbols be separated?
Say the stage first, then the shape and position. If two symbols look alike, add the row or button location. Do not shorten both to “triangle”; the position is part of the clue and is the easiest field for the operator to verify.
What is the recovery path after a reset?
Stop input, identify the new stage, and ask the observer to describe the complete panel again. Compare the new line with the puzzle index and keep the old line marked as failed rather than deleting it. This makes it clear whether the rule changed or the previous input was simply mistimed.
Common mistakes
- Acting on the shape before finding the sound-producing symbol.
- Reusing the previous stage’s answer after the panel advances.
- Calling only “triangle” or “blue” when the position and stage are needed.
- Deleting a failed stage instead of marking it and rereading the current panel.